
Braai basics for beginners: How to get the fire, coals and meat right - IOL
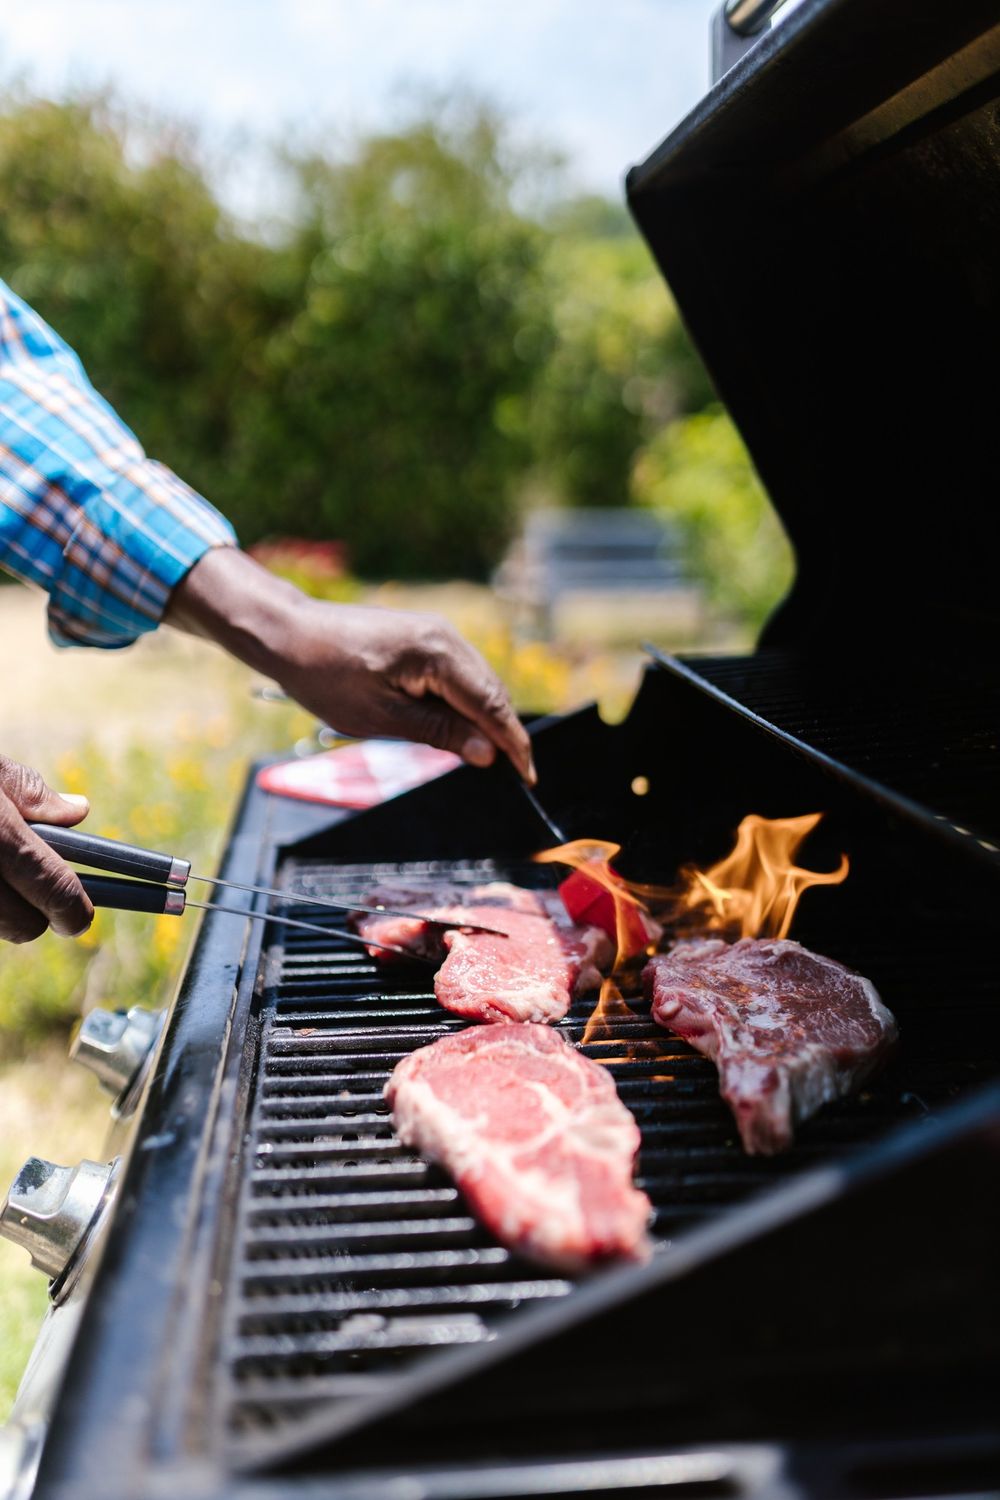
Knowing your way around a braai takes more than throwing meat onto a hot grid.
There is usually one person at a South African braai who automatically takes charge of the fire.
You know the one. They arrive, inspect the wood, build the fire and then spend the afternoon guarding the grid as though it were a national treasure.
That is all very well when you are a guest. But what happens when it is your turn to host?
Knowing your way around a braai takes more than throwing meat onto a hot grid.
The good news is that the basics are surprisingly simple.
If you are new to braaiing, this is what you need to know before you light the fire.
You do not need a cupboard full of specialist equipment.
Avoid using the same plate or utensils for raw and cooked meat without washing them first. Raw meat juices can contaminate food that is ready to eat.
Invest in long-handled braai tongs.
Not all firewood behaves in the same way.
For a beginner, the important thing is to choose dry, seasoned wood that produces good coals.
Hardwood varieties such as kameeldoring, sekelbos, rooikrans and mopane are commonly used because they burn hot and produce useful coals.
Kameeldoring: Dense and slow-burning, producing long-lasting, hot coals. It is useful when you have a long braai ahead.
Sekelbos: A popular South African choice that produces good heat and a distinctive smoky aroma.
Rooikrans: Burns hot and is useful when you want a fire that gets going relatively quickly.
Mopane: Very dense and slow-burning, making it suitable when you need long-lasting heat.
The exact characteristics vary depending on how dry the wood is and how it has been stored, so do not get too hung up on finding one particular variety.
What matters most is that you have dry wood that burns down to a good bed of coals.
Do not use painted, varnished or treated timber, construction offcuts or other wood that is not intended for cooking fires.
This is probably the most important lesson for a beginner.
The flames need to die down, and the wood needs to burn into glowing coals.
A good cooking fire should have a substantial layer of hot coals rather than tall flames licking through the grid.
The coals should be glowing, with much of the surface covered by a light grey or white ash.
If you can still see large pieces of wood burning with strong flames, give the fire more time.
A useful beginner's rule is simple: the fire is for making the coals; the coals are for cooking.
The flames need to die down, and the wood needs to burn into glowing coals.
You do not need to obsess over an exact temperature for a traditional open braai.
Instead, learn to recognise your heat zones.
Spread the coals evenly underneath the grid for a consistent cooking area.
You can also keep more coals on one side and fewer on the other, giving you a hotter area for browning and a cooler area where meat can finish cooking without burning.
This gives you much more control than trying to cook everything directly over the hottest coals.
There is no single rule that every braai master follows, but cooking in stages makes life considerably easier.
Start with foods that take longer to cook, such as chicken.
Then move on to things such as boerewors and chops, before finishing with steaks, which generally need a shorter cooking time and are best served soon after they come off the fire.
If you are cooking several different meats, do not cover the entire grid with food at once.
Leave yourself some space to move things away from the hottest coals.
Chicken is one of the easiest meats to get wrong because the outside can brown long before the middle is cooked.
Use a moderate heat rather than putting chicken directly over an extremely hot fire.
Place thicker pieces over a slightly cooler part of the braai and turn them regularly.
If the outside is becoming too dark before the chicken is cooked through, move it further away from the hottest coals.
Do not rely on colour alone to decide whether chicken is cooked.
The safest approach is to use a food thermometer and check the thickest part of the meat.
Poultry should reach 74°C internally.
If you are cooking chicken with a sticky marinade, watch it particularly closely because the marinade can burn before the meat is cooked.
Do not rely on colour alone to decide whether chicken is cooked.
Boerewors does not need complicated treatment.
Keep the coil intact rather than cutting it into individual pieces before cooking.
Place it over moderate heat and turn it as it browns.
The biggest mistake is cooking it over fierce flames.
If the fat causes flare-ups, move the wors away from the hottest part of the fire rather than repeatedly turning it in the flames.
Avoid pressing down on it with your tongs or fork. You want to keep the juices inside.
Steak is where you want your hot coals.
Pat the steak dry before it goes onto the grid and season it according to your preference.
Place it over a hot section of the braai and allow it to sear before turning it.
Try not to constantly move it around.
The cooking time will depend on the thickness of the steak and how you like it cooked, so a thermometer is more useful than giving a single number of minutes.
For food safety, whole cuts of beef should reach at least 63°C, followed by a three-minute rest.
If you prefer your steak cooked differently, that is a matter of personal preference, but a thermometer removes much of the guesswork.
You need hot coals when braaing steak.
Cooking before the coals are ready.
It is tempting to put the meat on as soon as the fire looks impressive, particularly when hungry guests are asking when lunch will be ready.
But a huge flame is not the same thing as useful cooking heat.
Wait for the wood to burn down, spread the coals and then start cooking.
The second common mistake is trying to cook everything at the same temperature.
Chicken, boerewors and steak have different cooking needs, so use the hotter and cooler areas of your braai to your advantage.
And keep an eye on the fire throughout the braai.
A good braai master is not the person who never moves the meat. It is the person who understands the heat and adjusts accordingly.
By the time the steaks hit the grid, you should no longer be worrying about whether you know what you are doing.

